I spend a considerable amount of my time working with digital image generation.
When you are deep in that workflow, one of the most frustrating and delicate challenges is trying to preserve the exact facial identity of a specific female model from a reference file. You upload the reference, type out your detailed prompt, and adjust your parameters.
But the software is incredibly sensitive. If your “denoising strength” slider is off by just 0.05, or if you change a single weight in your prompt, the resulting image is ruined. The facial structure morphs. The eyes change shape. The identity you were trying to preserve is completely lost, replaced by a generic, synthetic face.
Your immediate instinct is to panic. You assume the base model is broken. You think you need to download a massive, expensive new software package.
But the truth is much simpler: the model is fine. You just pushed one tiny slider slightly too far.
A few years ago, my morning coffee routine was suffering from this exact same problem. I was buying beautiful, expensive specialty coffee beans, but every time I brewed them at home, they tasted like a generic, bitter, muddy mess. The unique identity of the coffee was completely lost.
I almost gave up. I almost spent a thousand dollars on a commercial espresso machine because I thought my kitchen gear was broken.
Thankfully, I didn’t. Instead, I started auditing my parameters. I realized that achieving cafe-quality beverages didn’t require a massive financial investment; it just required a few microscopic tweaks to my daily workflow.
Here is the honest, highly practical story of exactly what I changed to get better coffee at home, the invisible variables I finally learned to control, and how preserving the true identity of the bean completely transformed my mornings.
Change 1: Ditching the Pre-Ground Trap
The most profound change I made had absolutely nothing to do with how I brewed the coffee. It was entirely about the raw data I was bringing into my kitchen.
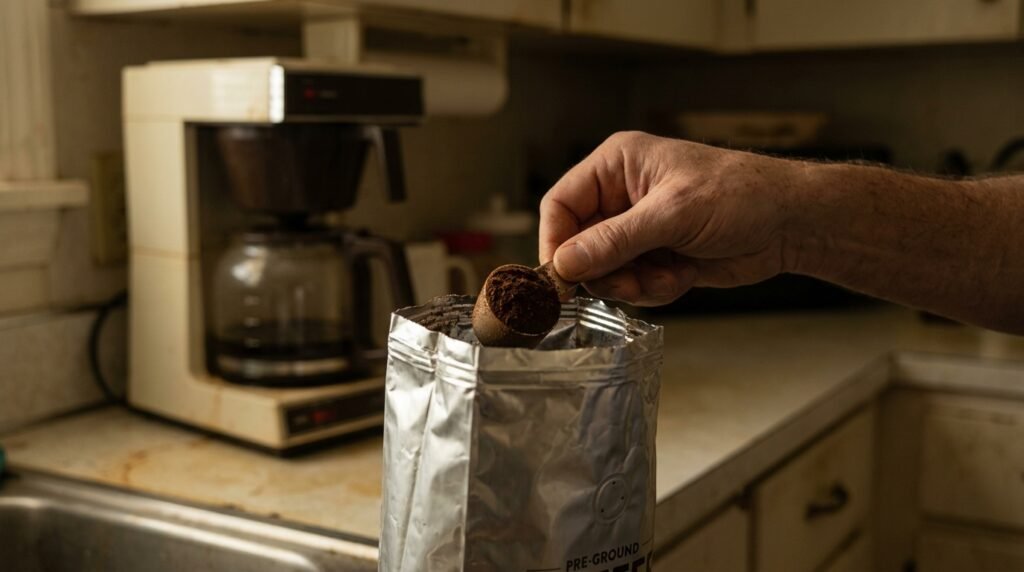
For the majority of my life, I bought pre-ground coffee. I thought it was just the smart, convenient way to do things. I would buy a massive bag, open it, and slowly work my way through it over the course of a month.
I didn’t realize that ground coffee is highly unstable.
Coffee beans are packed with hundreds of delicate, highly volatile aromatic compounds. These oils and gases are what give the coffee its specific tasting notes, whether that is wild blueberry, sweet jasmine, or heavy milk chocolate.
The moment you run a coffee bean through a grinder, you aggressively expose all of those internal oils to the oxygen in the room.
Within fifteen minutes of being ground, coffee loses roughly sixty percent of its aromatic complexity. By the time that pre-ground bag sits on a supermarket shelf for three months and then sits in your pantry for another three weeks, it is completely dead. The identity is gone. All you are left with is stale, brown dust.
I stopped buying pre-ground coffee entirely.
I purchased a small manual hand grinder and started buying whole beans. I only grind the exact amount of coffee I need, mere seconds before the hot water touches it. The explosion of aroma that fills my kitchen when I grind fresh beans is breathtaking, and it directly translates into a vibrant, complex liquid in the mug.
Change 2: Stopping the Oxygen Bleed
Once I started buying fresh, whole-bean coffee, I realized I had another massive problem: my storage habits were actively destroying my expensive beans.
I used to just roll up the top of the coffee bag and secure it with a rubber band, or worse, I would throw the entire bag into the back of my freezer.
I thought the freezer would magically preserve the freshness. I didn’t realize that coffee beans act like dry, porous sponges.
Every time I took the bag out of the freezer, the warm, humid air of my kitchen would instantly cause condensation to form on the frozen beans. That moisture rapidly degraded the surface oils. Even worse, the porous beans were actively absorbing the ambient odors of my freezer. My premium Ethiopian coffee started to faintly smell like frozen vegetables.
Fixing this environmental variable was the core premise of (How I Started Storing Coffee the Right Way). I had to stop the moisture and the oxygen from attacking my ingredients.
I bought a vacuum-sealed, opaque ceramic canister. I keep it in a dark, room-temperature cabinet. Every time I close the lid, I push the air out. This simple change drastically extended the lifespan of my coffee, ensuring that the beans tasted just as vibrant on day fourteen as they did on day one.
Change 3: Banning the Soup Spoon
The next major adjustment I made was eliminating the visual guesswork from my morning routine.
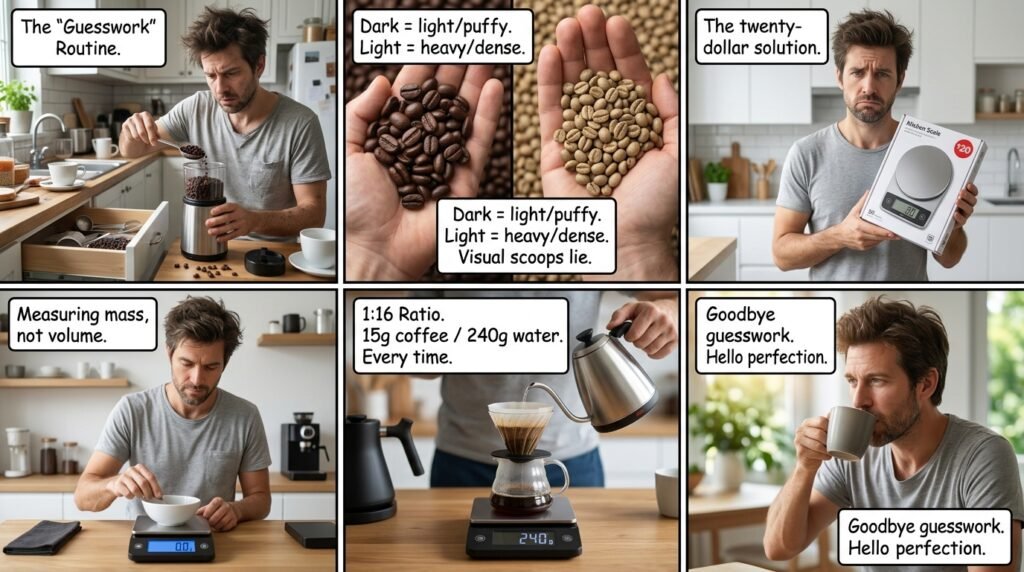
I used to measure my coffee by grabbing a random spoon from the cutlery drawer and blindly scooping beans into my grinder. I never measured my water; I just filled my kettle and poured until my mug looked full.
If you are trying to execute a precise chemical extraction, guessing your mass is a recipe for absolute disaster.
Dark roast beans are puffy, light, and full of air. Light roast beans are tiny, rock-hard, and incredibly dense. One visual scoop of dark roast weighs significantly less than one visual scoop of light roast. By trusting my eyes, my coffee-to-water ratio was fluctuating wildly every single morning.
I bought a twenty-dollar digital kitchen scale.
I stopped measuring by volume and started measuring strictly by weight. Establishing this mathematical baseline is exactly (The Simple Trick That Made My Coffee Taste Better).
I lock in a 1:16 ratio (15 grams of coffee to 240 grams of water). Because I weigh everything to the exact gram, I eliminated all the random variance. If the coffee tastes perfectly balanced on Monday, I know with absolute certainty that I can replicate that exact same masterpiece on Tuesday.
Change 4: Respecting the Solvent (Water Quality)
There is an uncomfortable truth about coffee brewing that most people completely ignore until it is too late.
A cup of black coffee is roughly 98 percent water. If you are using bad water, it is physically impossible to brew a great cup of coffee.
For years, I was filling my kettle straight from the kitchen tap. My city’s tap water is heavily treated with chlorine, and it is packed with hard minerals like calcium and magnesium.
When you heat up chlorinated, mineral-heavy water and mix it with delicate specialty coffee, the heavy metals bind to the fragile fruit acids and completely mute them. The chlorine leaves a harsh, chemical, metallic taste on the back of your tongue.
I wasn’t tasting the farm in Colombia; I was tasting the plumbing of my apartment building.
I stopped using tap water immediately. I started running all of my brewing water through a standard charcoal filter pitcher in my fridge.
This was one of the most shocking transformations of my entire journey. When you remove the heavy minerals and the harsh chemicals, the water becomes a “blank canvas.” Without the distracting noise of the chlorine, the delicate, sweet notes of the coffee bean suddenly exploded onto my palate.
Change 5: Stepping Down the Heat
Another massive flaw in my old routine was how I managed thermal energy.
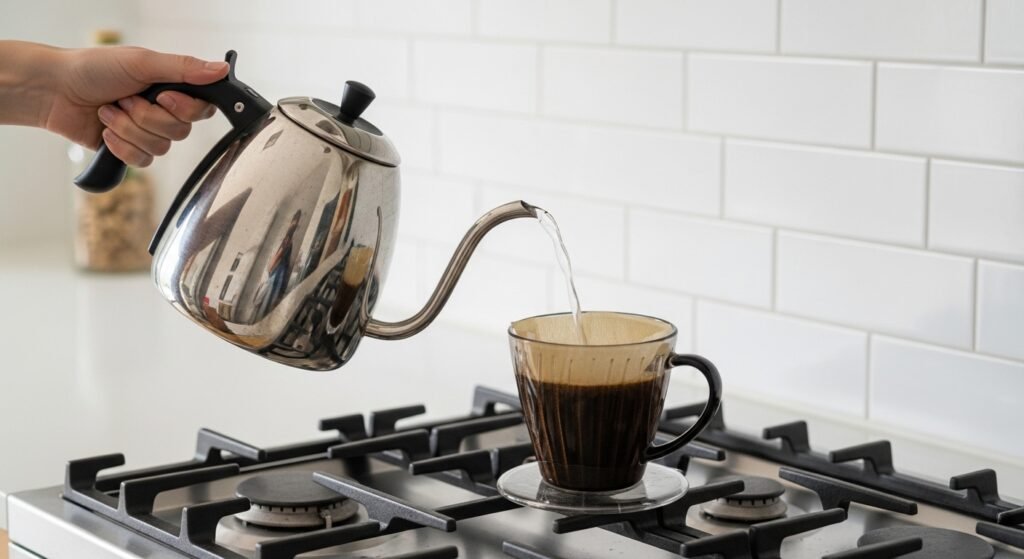
I firmly believed the old myth that coffee required violently boiling water. I would let my kettle scream on the stove, pull it off the burner, and immediately dump that rolling, chaotic liquid fire directly onto my coffee grounds.
I didn’t realize I was scarring the beans.
Boiling water (212°F or 100°C) is too aggressive for most specialty coffees. It instantly vaporizes the volatile aromatics and violently extracts the harsh, bitter plant tannins hidden deep inside the cellular structure of the seed.
My coffee always tasted like burnt ash because I was literally burning it.
I learned to back off the heat. Realizing the destructive power of a rolling boil was the foundation of (The Small Changes That Made My Coffee Much Better).
Now, I let the kettle boil, but I take it off the heat and wait for exactly forty-five seconds before I pour. This short pause allows the violent bubbling to stop, bringing the water down to a gentle 200°F (93°C). This temperature is hot enough to melt the sweet sugars, but cool enough to leave the bitter tannins locked safely away.
Change 6: The Patience of the Bloom
Even after I fixed my water, my scale, and my temperature, I was still making a physical error during the actual pouring process.
Whenever I made a pour-over, I would rush. I would dump all my hot water onto the coffee grounds as fast as possible, trying to fill the plastic cone to the brim.
I didn’t understand the chemistry of roasted coffee.
Fresh coffee beans are full of trapped carbon dioxide gas. When hot water hits them, they rapidly degas. The coffee bed aggressively bubbles, expands, and swells upward.
If you just dump a massive wave of water onto the coffee while it is releasing gas, the carbon dioxide acts as a physical shield. It repels the water, forcing it to slide past the beans without extracting any flavor.
I had to learn how to wait.
Now, I gently pour just enough water to wet the grounds (about 45 grams). Then, I put the kettle down and I stand perfectly still for forty-five seconds. I watch the coffee “bloom.” I let it exhale all of its trapped gas.
Only after the bubbling stops do I resume pouring the rest of my water in slow, gentle circles. Giving the coffee time to breathe resulted in an extraction that was exponentially richer, heavier, and sweeter.
Small Tweaks, Massive Results
When you are frustrated with a creative process—whether that is generating a high-definition image with a specific face, editing a complex photograph, or brewing a cup of coffee—it is incredibly easy to blame the tools.
We love to believe that a more expensive machine will magically fix our lack of technique.
But the reality is that the magic is always hidden in the parameters.
I didn’t buy a thousand-dollar espresso machine. I didn’t remodel my kitchen. I just stopped using tap water. I bought a cheap scale. I let my kettle cool down for forty seconds. I let my coffee bloom, and I started storing my beans in a dark cabinet instead of the freezer.
These adjustments cost me almost nothing, but they completely revolutionized the liquid in my mug.
If your morning coffee currently tastes bitter, weak, or sour, do not throw your brewer away. Start auditing your sliders. Tweak your variables one by one. When you finally dial in the parameters, the true identity of the coffee will snap into focus, and you will realize that you had the power to brew a masterpiece all along.

My name is Daniel Carter, I am 35 years old, and I live in the United States. I have been passionate about aquariums for many years, and what started as a simple hobby quickly became a lifelong interest in aquatic life, fish behavior, and responsible tank care.
Through TheBrightLance, I share real experiences, practical knowledge, and honest lessons learned from maintaining different types of aquariums. I enjoy testing equipment, studying fish behavior, improving maintenance routines, and helping beginners avoid common mistakes.
My goal is to make aquarism easier, more ethical, and more enjoyable for everyone — whether you are setting up your very first tank or looking to refine your techniques.