For a very long time, I was a culinary hypocrite.
When I pick up a camera, I would never dream of shooting a portrait on the “Auto” setting. I know that if I want a breathtaking image, I have to take absolute manual control over the variables. I have to balance the ISO to manage the grain, dial in the aperture to get that beautiful, creamy background blur, and adjust the shutter speed to capture the light perfectly.
If you just point and shoot on automatic, the camera guesses. And when the camera guesses, the result is usually flat, lifeless, and completely devoid of artistic intention.
A few years ago, I had a harsh realization in my kitchen. While I was obsessively controlling every single variable in my creative life, I was brewing my morning coffee entirely on “Auto.”
I was buying generic, pre-ground coffee, scooping an arbitrary amount into a cheap plastic drip machine, pressing a blinking button, and walking away. I was letting a twenty-dollar machine guess how my beverage should taste. And the result was always a flat, lifeless, bitter liquid.
I decided I was done drinking bad coffee. I wanted to turn my morning routine from a careless chore into a deliberate, manual art form.
Here is the honest, transformative story of how I finally learned to brew coffee the right way, the three fundamental pillars of extraction I had to master, and how taking my coffee off “Auto” mode changed my mornings forever.
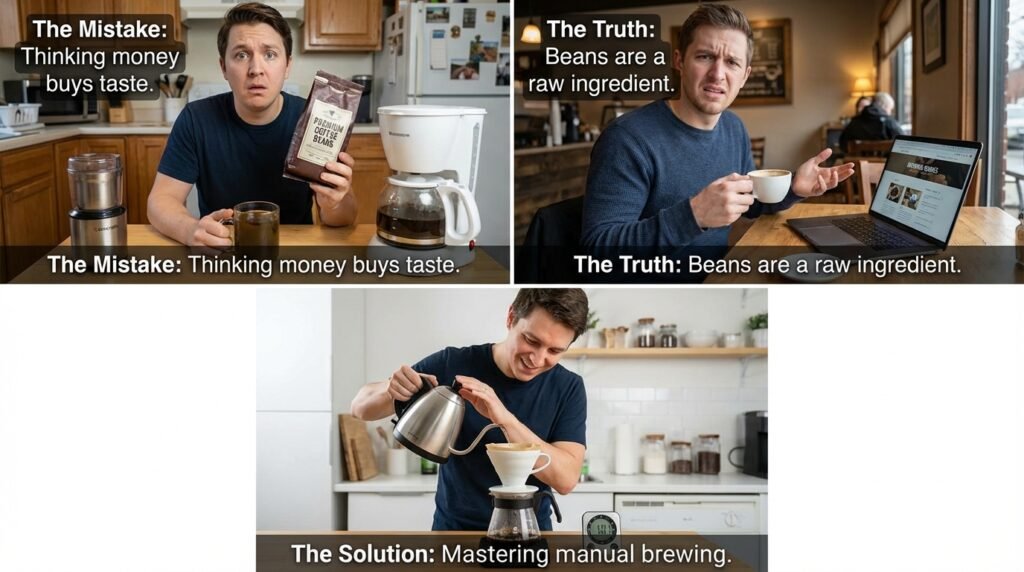
The Myth of the “Magic Bean”
My journey to proper brewing started with a massive, highly frustrating misconception.
I used to believe that the only difference between a bad cup of coffee and a café-quality cup of coffee was the price tag on the beans. I assumed that if I just spent more money, my coffee would automatically taste better.
So, I went to a local specialty roastery and bought a twenty-dollar bag of single-origin beans from Guatemala.
I took them home, threw them into a cheap blade grinder, chopped them into uneven chunks, and dumped them into my plastic drip machine. I pressed the button, fully expecting the machine to dispense liquid gold.
It tasted like hot, sour dirt. It was arguably worse than the cheap supermarket coffee I had been drinking for years.
I was furious. I thought the roaster had ripped me off. But the painful truth was that the beans were perfect; my technique was violently destroying them.
Ignorance of the brewing process was absolutely (The Biggest Brewing Mistake I Didn’t Notice), because I had failed to understand that a coffee bean is not a finished product. It is a raw ingredient. You cannot throw a premium, dry-aged steak into a microwave and expect a gourmet meal.
If I wanted to taste the chocolate and caramel notes hidden inside those expensive Guatemalan beans, I had to learn how to extract them properly. I had to learn the three pillars of manual brewing.
Pillar 1: The Mathematics of the Ratio
The very first habit I had to break was the “blind scoop.”
For years, I measured my coffee using a random soup spoon from my cutlery drawer. Some days I used three heaping scoops; other days I used two flat scoops. I never measured the water; I just filled the reservoir to a random line.
This is a recipe for absolute chaos.
Coffee brewing is chemistry. It is the process of using water as a solvent to dissolve specific flavor compounds out of a roasted seed. To control that chemical reaction, you must use a strict, mathematical ratio of coffee mass to water mass.
If you use too much water, the coffee becomes horribly over-extracted, pulling out harsh, astringent tannins. If you don’t use enough coffee, the water just rushes past the beans, failing to extract the sweet sugars.
This lack of mathematical structure was exactly (Why My Coffee Always Tasted Weak (And How I Fixed It)). I was drowning my coffee grounds in an ocean of unmeasured water.
I learned that the golden rule of specialty coffee is the 1:16 ratio. For every one gram of coffee, you need sixteen grams of water.
To achieve this, I had to banish my soup spoon and buy a digital kitchen scale. I started weighing exactly 15 grams of coffee beans, and pouring exactly 240 grams of hot water.
Overnight, my coffee stopped tasting like a random gamble. The scale provided a foundation of consistency. If the coffee tasted too strong, I could change the ratio to 1:17 the next day. I finally had a measurable baseline.
Pillar 2: Mastering the Grind Size
Once I had the math under control, I had to confront the physical mechanics of the coffee grounds.
Water is lazy. It will always take the path of least resistance.
If you use a cheap blade grinder, it chops the coffee into massive boulders and microscopic dust. When you pour water over this chaotic mixture, the water aggressively channels past the boulders (leaving the sweet flavors behind) and gets trapped in the dust (extracting bitter flavors).
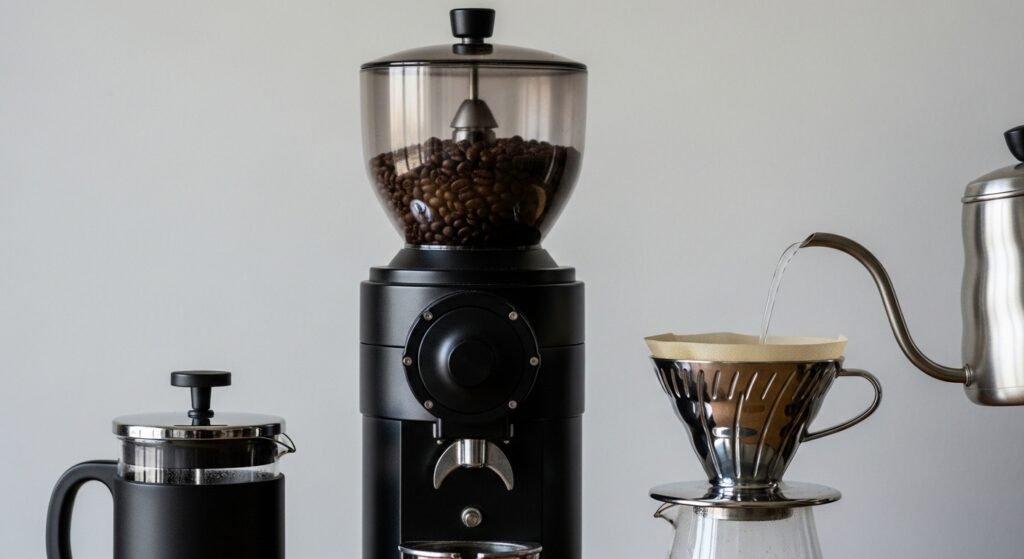
I had to invest in a high-quality burr grinder. A burr grinder crushes the beans between two ceramic or steel plates, ensuring that every single particle of coffee is the exact same size.
But having uniform grounds is only half the battle. You have to choose the correct size for your specific brewing method.
Grind size controls time.
If I am brewing a French Press, the coffee sits in the water for four minutes. If I grind the coffee too fine, the water will over-extract the beans in those four minutes, making the coffee bitter. Therefore, a French Press requires a very coarse grind, like thick sea salt.
If I am brewing a V60 pour-over, the water flows straight through. To slow the water down and force it to extract the flavor, I have to use a medium-fine grind, like table sand.
Learning how to visually identify and adjust my grind size was a revelation. Buying a burr grinder and understanding surface area dynamics was undeniably (The Simple Change That Improved My Coffee Instantly), because it allowed me to physically control the flow of the water.
Pillar 3: Respecting the Solvent (Water and Heat)
The final pillar I had to master was the most obvious, yet the most overlooked ingredient in the entire process: the water itself.
A cup of black coffee is roughly 98% water. If you use bad water, you will inevitably have bad coffee.
For years, I was filling my coffee machine with harsh, heavily chlorinated tap water straight from the sink. The chemicals in the tap water were masking the delicate floral and fruit notes of the coffee beans. I immediately started using filtered water, and the clarity of my morning cup skyrocketed.
But the quality of the water wasn’t my only mistake; the temperature was also destroying my brews.
Whenever I tried to make coffee manually, I would boil a kettle on the stove, wait for it to aggressively whistle, and immediately pour the rolling, violently boiling water directly onto the coffee grounds.
I didn’t realize I was literally scorching the beans.
Boiling water (212°F or 100°C) is too hot for most specialty coffee. It instantly burns the delicate organic acids and vaporizes the subtle aromatics, leaving behind a harsh, ashy, bitter taste.
On the other hand, water that is too cold (under 195°F) lacks the kinetic energy required to dissolve the heavy, sweet sugars trapped inside the dense cellular structure of the bean. The resulting coffee will taste incredibly sour and weak.
I learned that the sweet spot is between 195°F and 205°F (90°C to 96°C).
I didn’t buy a fancy thermometer. I just started boiling my kettle, taking it off the heat, and waiting exactly forty-five seconds before pouring. That simple pause allowed the water to cool down to the perfect extraction temperature, completely eliminating the burnt, bitter flavors from my mug.
The Art of the Pour
Once I understood the ratio, the grind size, and the water temperature, I bought a manual V60 pour-over cone and a gooseneck kettle. It was time to put the theory into practice.
I quickly learned that manual brewing isn’t just about dumping water onto the grounds. It is a choreography.
When you pour hot water onto fresh coffee, the grounds rapidly release trapped carbon dioxide. The coffee physically swells, bubbles, and expands. This is called the “Bloom.”
If you just dump all your water in at once, that escaping gas will actually repel the water, preventing it from extracting the flavor.
I learned to pour just enough water to wet the grounds (about 45 grams) and then step back. I watch the coffee bloom for exactly thirty seconds. I let the gas escape.
Once the bed settles, I begin the main pour. I use the thin, precise spout of the gooseneck kettle to pour the water in slow, hypnotic, concentric circles. I maintain a perfectly steady flow rate, ensuring that all the coffee grounds are evenly agitated and extracted at the exact same time.
The Breakthrough Morning
I will never forget the first morning I successfully aligned all the variables.
I weighed out 15 grams of a washed Ethiopian Heirloom coffee. I dialed my burr grinder to a perfect medium-fine setting. I heated filtered water to 202°F. I poured exactly 240 grams of water in slow, measured circles, hitting my target weight in exactly two minutes and thirty seconds.
I poured the translucent, ruby-red liquid into my favorite ceramic mug.
The aroma was intoxicating. It smelled like fresh jasmine and sweet honey.
I let it cool for a moment, and I took a slow sip.
It was an absolute masterpiece. There was zero bitterness. There was zero harshness. It was sweet, vibrant, and incredibly clean. I could vividly taste the complex notes of ripe peach and black tea that were promised on the label of the bag.
It was better than the coffee I was paying five dollars for at the local specialty shop. And the best part was that it wasn’t an accident. I hadn’t gotten lucky. I had engineered that cup of coffee using math, physics, and patience.

The Joy of Manual Control
Learning to brew coffee the right way completely transformed my relationship with my morning routine.
I no longer view making coffee as a tedious chore to be rushed through. I view it as a ten-minute meditation. It is a quiet, deliberate ritual that grounds me before the chaos of the workday begins.
When you take your coffee off “Auto” mode, you unlock an entirely new universe of flavor. You become an active participant in the culinary process. You realize that you have the power to take an agricultural product and extract its absolute highest potential.
If you are currently relying on an automatic drip machine, a pod brewer, or a random soup spoon to make your morning cup, I highly encourage you to take the leap into manual brewing.
Buy a digital scale. Buy a burr grinder. Pay attention to your water.
It will take a little bit of practice, and you will definitely make a few mistakes along the way. But when you finally dial in those variables perfectly, and you taste the brilliant, complex, natural sweetness of a properly extracted coffee bean, you will never want to go back to “Auto” mode ever again.

My name is Daniel Carter, I am 35 years old, and I live in the United States. I have been passionate about aquariums for many years, and what started as a simple hobby quickly became a lifelong interest in aquatic life, fish behavior, and responsible tank care.
Through TheBrightLance, I share real experiences, practical knowledge, and honest lessons learned from maintaining different types of aquariums. I enjoy testing equipment, studying fish behavior, improving maintenance routines, and helping beginners avoid common mistakes.
My goal is to make aquarism easier, more ethical, and more enjoyable for everyone — whether you are setting up your very first tank or looking to refine your techniques.